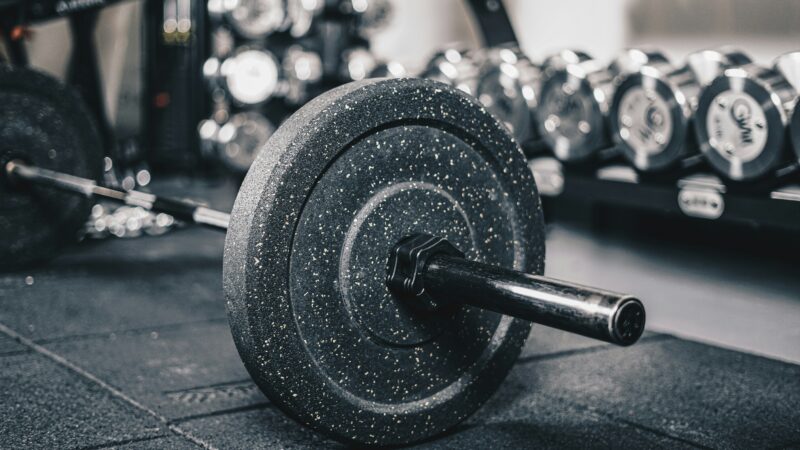
You’re sitting on the bench, looking at a loaded barbell, and that familiar, nagging doubt creeps in. Your shoulders feel okay today, but memories of that nasty third-degree separation from college rugby are playing on loop in your head. Or maybe it’s a lower back tweak from a botched deadlift PR last year. You want to push hard, you want to build muscle, but you’re terrified of taking three steps back. It’s a brutal mental trap that every intermediate lifter faces at some point.
The generic fitness advice tells you to “just rest” or “do light cardio.” But let’s be real—you didn’t spend years building a solid base of strength just to become a permanent resident on the elliptical. You want to get back to moving heavy iron. The good news? You can. Learning how to safely lift weights after injury isn’t about avoiding intensity; it’s about shifting your strategy so your body can handle it without breaking down again.
Disclaimer: I’m a strength coach, not a doctor or a physical therapist. Before you start loading the bar again, make sure you’ve been cleared by a qualified PT or medical professional.
Step 1: Check Your Ego at the Gym Door
The biggest mistake lifters make when figuring out how to safely lift weights after injury is trying to pick up exactly where they left off. Your mind remembers what your 1RM used to be, but your tendons and nervous system have a different story to tell. If you try to jump straight back into your old percentages, you’re just begging for a relapse.
Instead of testing your limits, your primary goal during the first few weeks back should be movement quality and connective tissue tolerance. Tendons and ligaments have a notoriously poor blood supply compared to muscles, meaning they take way longer to adapt and heal. You might feel strong enough to bench 225 lbs again, but if that old rotator cuff tear isn’t ready for the shear stress, you’re gonna have a bad time.
Start with a load that feels like a 4 or 5 out of 10 on the RPE scale. It’s gonna feel annoyingly light, but we are building a foundation here, not chasing social media clout.
Step 2: Modify the ROM and Biomechanics
If an exercise hurts, you don’t necessarily have to ditch the entire movement pattern. You just need to change the mechanics to accommodate your structural history. Small tweaks can completely alter how forces are distributed across your joints.
Adjusting Your Range of Motion (ROM)
You don’t need to go full “ass-to-grass” on squats or touch the bar to your chest on bench press if it causes a sharp pain. Work within a pain-free ROM and gradually expand it over time. Partial ranges of motion are highly underrated for rebuilding strength in compromised tissues.
- For Shoulder Issues: Swap the standard barbell bench press for a floor press or a board press to limit the deep bottom stretch.
- For Lower Back Tweaks: Switch from conventional deadlifts from the floor to rack pulls or block pulls set just below the knee.
- For Knee Pain: Swap low-bar back squats for box squats to keep the shins more vertical and reduce shear stress on the patellar tendon.
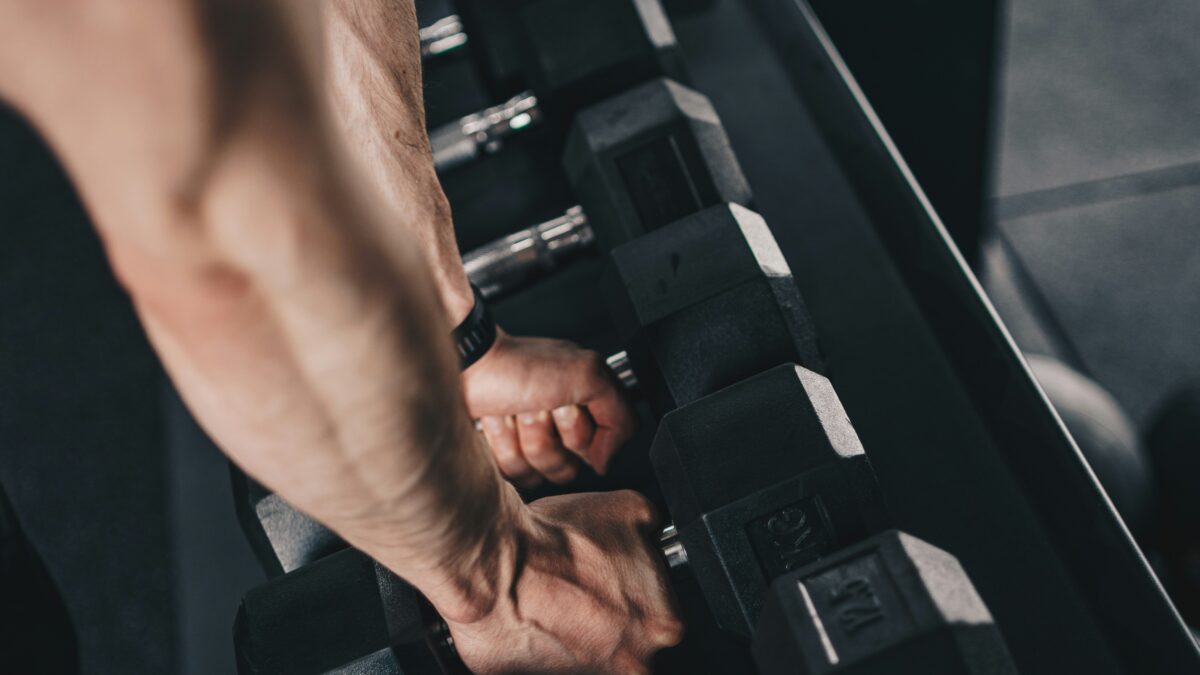
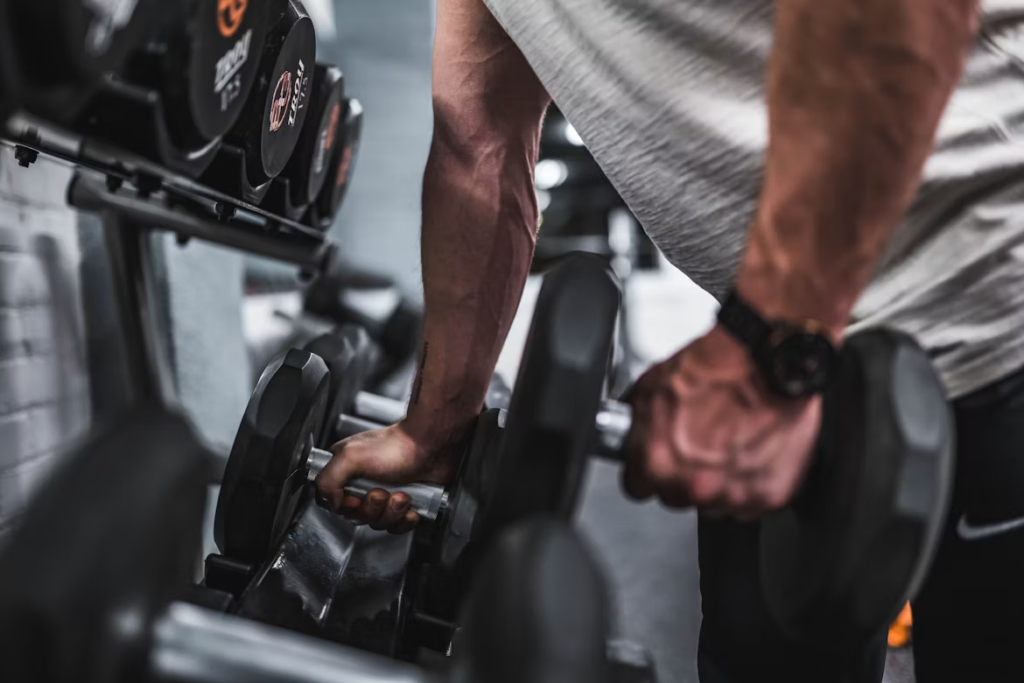
Swap the Barbell for Dumbbells or Cables
Barbells lock your hands and feet into a fixed, rigid position. If your joints don’t naturally move along that exact track, it creates friction. Dumbbells and cables allow for natural joint rotation, letting your wrists, elbows, and shoulders find the path of least resistance. If heavy overhead pressing with a barbell irritates an old sports injury, a neutral-grip dumbbell press might feel completely seamless.
Step 3: Rep Ranges and Loading Strategies for the Comeback
When you are mastering how to safely lift weights after injury, the old-school 5×5 protocol is temporarily benched. Heavy triples and fives place massive amounts of mechanical tension on your joints and require maximum CNS output. When coming back, you want to lean heavily on metabolic stress and muscular hypertrophy to stimulate blood flow and healing.
Aim for the 10 to 15 rep range, leaving at least 3-4 Reps in Reserve (RIR) on every single set. This approach pumps nutrient-rich blood directly into the muscles and surrounding tendons without overloading the joint capsule with excessive weight.
| Training Parameter | The Old “Heavy” Way | The “Re-Entry” Protocol |
|---|---|---|
| Rep Range | 3 – 5 reps | 10 – 15 reps |
| Intensity (RIR) | 0 – 1 RIR (Near Failure) | 3 – 4 RIR (Conservative) |
| Tempo | Fast / Explosive | 3-Sec Eccentric (Controlled) |
| Rest Periods | 3 – 5 minutes | 90 – 120 seconds |
Step 4: Use Tempo and Isometrics to Reinforce Joints
Speed kills when you are dealing with old injuries. Dropping like a stone into the bottom of a squat or bouncing a bench press off your sternum creates massive force spikes that your old injury simply cannot absorb right now.
You need to own the movement, which means utilizing slow eccentrics (lowering phase) and deliberate isometrics (pauses). A 3-second negative forces your muscle fibers to do the actual work, stripping away momentum and keeping the tension exactly where it belongs. Pausing for a split second at the hardest part of the lift also builds immense stability and eliminates the temptation to use a bounce to get through a sticky point.
The Pro-Tip: The 24-Hour Pain Rule
How do you know if you’re actually learning how to safely lift weights after injury or just making things worse? You use the 24-Hour Pain Rule. It’s the ultimate metric for an intermediate lifter navigating a comeback.
The Rule: Mild discomfort during a workout can happen. However, if that discomfort escalates into genuine pain that lasts longer than 24 hours post-workout, or if it increases your morning stiffness the next day, the session was too intense. You overloaded the tissue. Scale back the weight, reduce the volume, or modify the ROM on the next session.
If you wake up the next day with nothing more than standard, localized DOMS in the target muscle belly, you nailed it. You successfully stimulated the tissue without aggravating the underlying issue. Keep that exact load and volume for one more week before you even think about adding weight to the bar.
Wrapping Up
An old sports injury doesn’t mean your days of getting jacked and strong are over. It just means you have to out-smart your training instead of trying to out-muscle it. By temporarily dropping the ego, embracing dumbbells, slowing down your rep tempo, and respecting the 24-hour rule, you can safely rebuild your body into an absolute tank. Play the long game, stay consistent, and let’s get back to making progress.